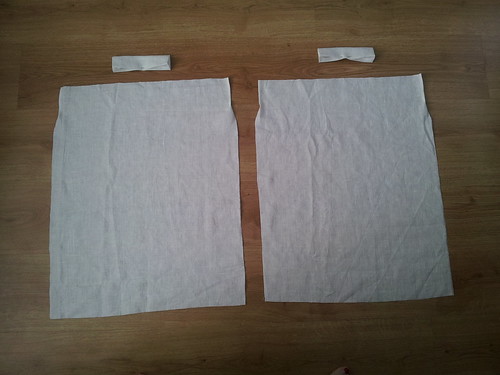
The wrist end of the sleeve is significantly wider than the cuff, so it needs to be gathered in. The gathering process is what gives Tudor shirts those delightfully puffy sleeves.
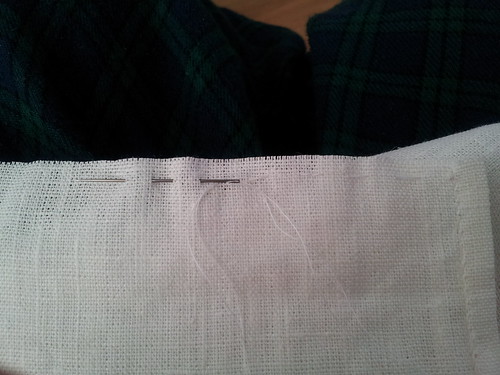
Starting just inside the hem, about an eighth of an inch down from the raw edge, work a line of running stitch across the wrist end of your sleeve. Keep the stitches as even as possible, and preferably work them parallel to the same thread the whole way across.
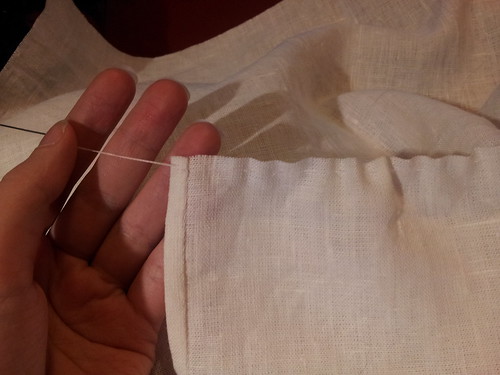
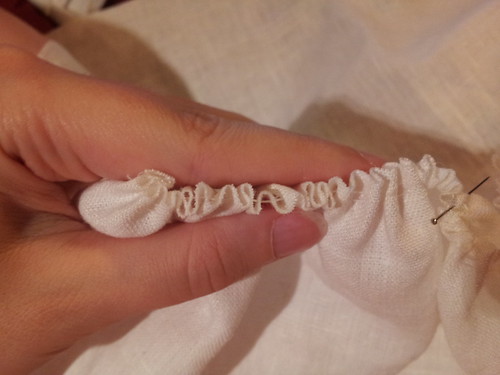
When you get about halfway across, you're going to find yourself running short of thread. DON'T FASTEN IT OFF. Instead, carefully slide the fabric along the thread so that it bunches up, being careful not to pull the knot through the fabric.
Finish working the line of running stitch all the way to the second hem. Again, don't fasten the thread off. Leave the free end dangling, making sure you don't pull it back out of the fabric. (I generally leave my needle attached to the thread at this point because it's less likely to pull back out.)
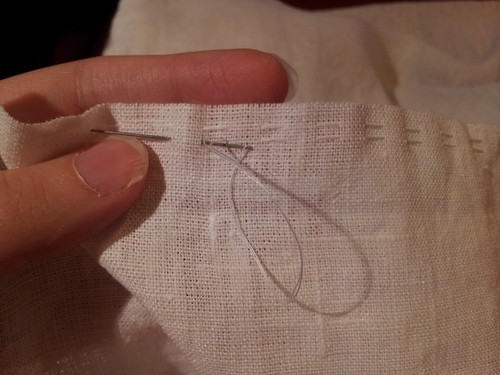
Work a second line of running stitch parallel to the first one, another eighth of an inch in. Line up the threads as exactly as possible so that the second thread goes up and down at the same points as the first thread.
When you finish the second line of running stitch, get your cuff. Carefully slide the fabric of the sleeve along the two gathering threads until the bunched-up fabric is exactly the same length as the cuff.
As you can see the gathered fabric wants to curve around. If you're finding it difficult to match the length of the cuff as a result, err on the side of gathering too loosely. Too loose and you can always ease the gathers tighter. If the gathers are too tight, they won't fit the cuff.
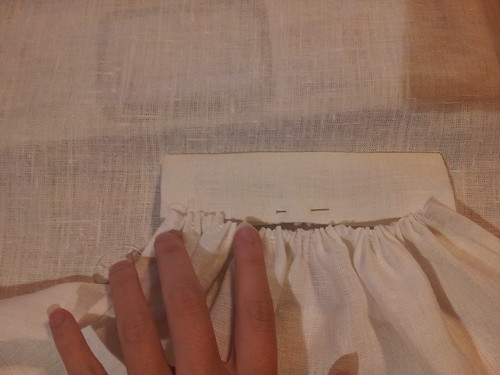
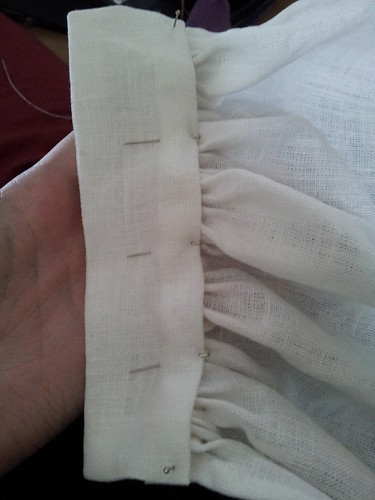
Arrange the gathered folds of fabric so that they sit nicely. Mark the mid-point with a pin. (A sensible person would do this at the beginning, but I never remember until now.)
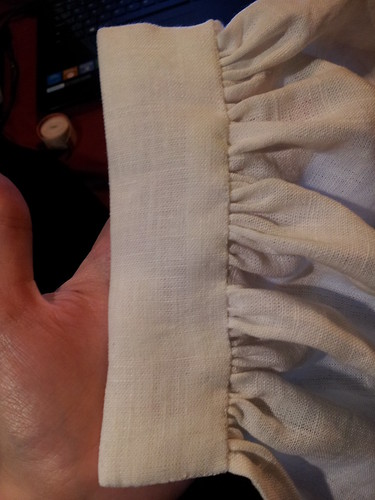
The open long edge of the cuff is going to be sewn down over the raw edge of the fabric, covering it and holding the gathers in place permanently. I sew the inside of the cuff down first so that I can fuss with the outside and make it look nice without having to worry about the fabric escaping.
So. Working on the inside of the sleeve (which is the side the hemming turns towards), pin one side of the cuff in place over the gathers. If you're using embroidered cuffs, make sure you're pinning the plain side to the inside of the sleeve. It should just barely cover both of the gathering threads.
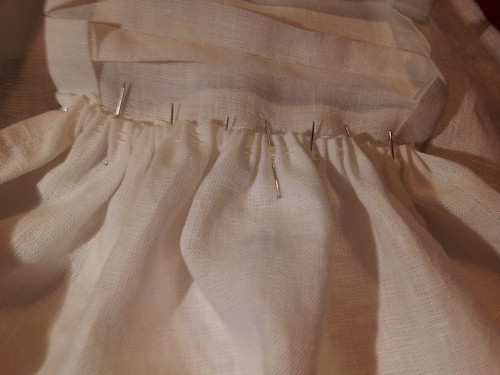
Much as you did when hemming, whipstitch along the join, taking up a thread from the wrist gathers and a thread from the fold of the cuff.
Fasten off the thread and run it inside the placket hem. Turn the sleeve over so that the outside is visible and pin down the other side of the cuff.
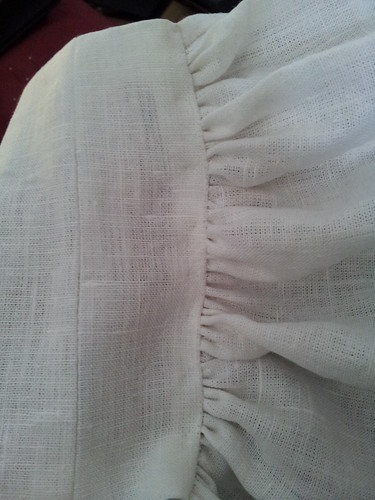
Start sewing at the top of one short edge of the cuff and whipstitch all the way down the side, along the long edge, and up the opposite short side. As you sew, arrange the folds of the fabric so that they sit nicely.
Gather the second sleeve and attach the second cuff in exactly the same way.
No comments:
Post a Comment